Chain Waxing - A Deep Dive Into Low Friction
Chain Waxing - Not Just For Weirdos Anymore!
By now, you may be familiar with the idea of eschewing traditional chain lube in favor of hot waxing, or using a wax-based lubricant on your chain. The scientific tests tell us that waxing the chain yields an impressive reduction in friction, and there is arguably less mess associated with the “hot waxing” method than when using traditional liquid lubricants. The hot waxing process is nothing really new, but has only relatively recently merged onto the information superhighway and is gaining more widespread popularity. But it is indeed a *process*, and getting set up and switching over to a hot waxing setup involves some commitment to equipment and procedure. Once established, it’s a relatively straightforward operation that works really well for lots of riders. For this article, we’ll focus on the hot-wax (immersion/bath) method rather than include wax-based liquid lubes. The process and procedures around the liquid wax lubes is very similar to how one uses traditional chain lubes.
If the idea of hot waxing is sounding more like a personal grooming regiment than something related to bike drivetrain maintenance, here’s a quick rundown of what chain waxing is and how it differs from what most of us are familiar with.
What is Chain Waxing?
We all know that a well-lubricated chain is vital to the well-being of our bikes and plays a significant role in the overall quality of the riding experience. To keep on top of keeping the chain lubed, most of us have always used one (and sometimes all) of the vast array of liquid chain lubricants available out there. They’re relatively easy to use, widely available, and there seems to be a type of lube for every possible riding type and condition. When it comes time to clean and refresh the drivetrain, or even just “top off” the chain with a little bit of whatever you’re using, the process is pretty easy, or at least very familiar to us all. But what if there was a technique whereby you could have less grime/mess, longer intervals between lubricating, less friction and drag, and avoid buying plastic bottle after plastic bottle of chain lube? Enter chain hot waxing..
Chain hot waxing is essentially exactly what you’d think: A coat of wax takes the place of the traditional liquid petroleum chain lubricant that is the de facto standard for most of us. The wax is applied in a hot, liquid form to a clean, prepped chain and permeates the voids between links and adheres to the contact surfaces of the chain. This provides a low-friction layer between contact surfaces, just like an oil or grease. Once the hot wax has been applied to the chain and the wax-covered chain has cooled, it’s then re-installed on the bike and off you go. This process is however easier said than done. We’ll get into the “how”, but first the “why”.
Why Wax
There are several reasons why riders dedicate the time and effort to hot wax their chains (or pay for the service). The main benefits (please pardon the pun) boil down to drivetrain performance, length of time between services and increased drivetrain longevity. Also, because dirt and grime do not stick to the wax, you end up with a remarkably clean chain and drivetrain throughout the interval between waxings. There are volumes of test data that support the lower-friction/higher-performance aspects of chain waxing and if you just ride till the chain squeaks (a rudimentary but effective indicator that many of us are guilty of employing), you’ll likely tick off several hundred miles of riding even in less than ideal conditions. Compare this to the more recommended “wipe down and re-lube every other ride or so” practice and you can see the appeal.
Speaking of seeing the appeal, you will notice the reduced mess associated with waxing every time you accidentally touch your chain, or otherwise come in contact with it. It’s a small thing, but none of us love the black hands or the chainring “tattoo” on the leg. Far more quantitative than the hassle of having to wash grease off or your hands, legs, gloves, etc is the fact that less grit coming between the chain and the cassette cogs and chainrings equals markedly longer drivetrain life. Given the cost of Dura Ace chainrings or an XX1 Eagle cassette, this alone makes hot waxing worth it for many of us.

How To Wax
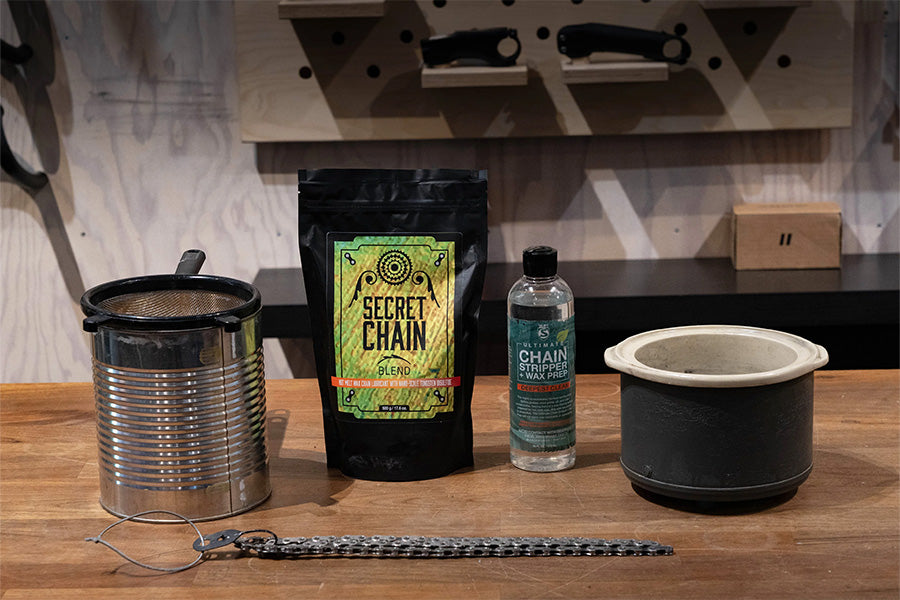
As mentioned, hot waxing your chain is definitely not as straightforward or quick as what most of us are currently used to. A quick wipe down and lube, with the occasional full chain clean is pretty easy and doesn’t require much time and extra equipment outside of a chain cleaner and a garden hose. Hot waxing is a much different, but straightforward process. Once you get the initial setup done and complete your first waxing however, it can become an easy routine that doesn’t require much more time than a thorough traditional cleaning. Plus, the longer intervals between services more than make up for the bit of extra time required. Here’s a quick rundown of the process, starting with what you'll need:
Wax - Options like Silca Secret Chain Blend work best, but you can use paraffin canning wax with great results!
Crockpot or Slow Cooker - Nothing fancy needed, there are great options at thrift stores.
Strainer or something to hold the chain (coat hanger that you can link the chain around)
Cleaning container(s) - Old water bottles, mason jars, tupperware all work well. *If you want to take it to the pro level, an ultrasonic cleaner provides the ultimate cleaning.
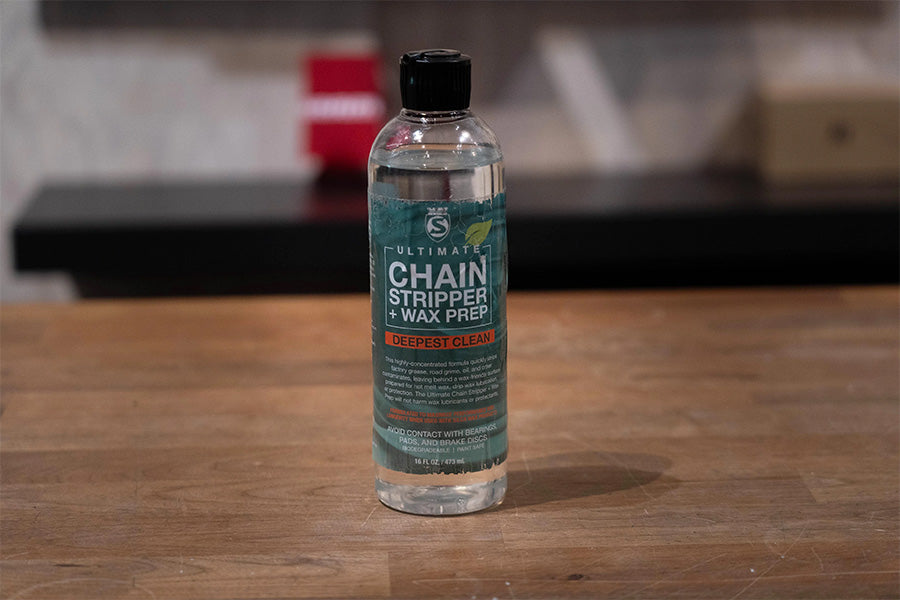
Chain cleaner/stripper - Mineral Spirits is an old stand-by, but Silca Ultimate Chain Stripper works well and covers the prep too.
Chain prep - Denatured alcohol is inexpensive and works great!
Chain - Start with a new, or mildly used chain. While it’s possible to properly clean and prep a more used chain for waxing, it takes more cleaning cycles and if the chain is already noticeably worn, you’re missing out on some of that drivetrain longevity advantage.
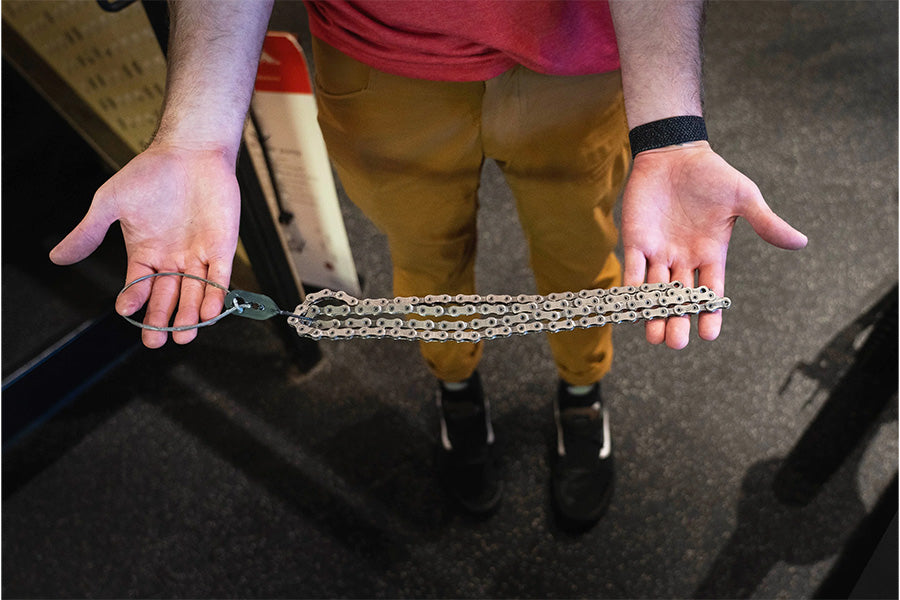
The first step is to strip and prep the chain. You'll only need to do this once per chain. If you want to go Pro-Level on this step, you can round up an ultrasonic cleaner of the sort used to clean jewelry, small automotive/moto parts, etc. A far less expensive and space consuming method is to use any container that will fit the chain, like an old water bottle or sealable jar. The chain will need to be shaken in the cleaning container, so it’s best if it seals well. Once you’ve got your cleaning container, you’ll need the proper cleaning/stripping agent(s). This used to be generally done with mineral spirits to strip the grease off the chain, and then denatured alcohol to prep the chain for wax adhesion (a second dedicated container for the alcohol prep is best, to avoid any contamination with the cleaning agent). However, there are now products on the market that take care of both the cleaning and the prep, such as Silca’s Ultimate Chain Stripper. This provides a one step clean and prep for the chain.
With the chain in the cleaning container, add enough cleaning agent to thoroughly bathe the chain and let it soak for about 10 minutes. Once it’s soaked, give it a good shake for 30 seconds or so. Change out the cleaning fluid and repeat this process a couple of times for a new chain, and possibly a couple more for a used chain, until the cleaning solution runs clear. Be sure and properly dispose of the used solution. *With mineral spirits, you can often carefully pour off and re-use the clean, used liquid once the dirt has settled to the bottom (usually over the course of a few days).
Next up, prep the chain for the wax. Do the same bathing/shaking routine in a separate container with the denatured alcohol two times to remove any film left behind from the mineral spirits (not necessary if using a one-step cleaner/prep product). Once the chain is dry, it’s ready for the hot wax!
Now you can prep the hot wax. Place the wax in your crockpot (either a bag or prescribed amount of branded wax, or a couple of bricks of canning paraffin) and heat it up. Here, you can either place the chain in its strainer or holder on top of the un-melted wax, or wait until it’s melted and dunk it.
Time to wax on! Once the wax is liquified and the chain is fully submerged, it’s recommended to let it sit in the hot wax for an hour or so for the wax to fully work its way into all of the voids, nooks and crannies of the chain. *If you’re re-waxing a previously serviced chain, this gives the old wax a chance to heat up and melt off. Once the chain is sufficiently hot and has soaked for a while, swish it around in the wax for about 30 seconds. This will work any air bubbles loose and ensure complete coverage.

Now you can lift the chain out of the wax and hang it up to cool. Make sure you have a rag, cardboard or something else to catch the wax that will run off the chain while it’s still hot. The nice part is that if you’re working on a hard surface in the garage, etc, any wax that makes it to the floor is easy to clean up once it’s cooled. If you’re working over carpet, you might need to reassess entirely.
Once the chain is cool to the touch, you’ll notice that the wax has hardened and the chain will need to be “rolled out”, breaking the wax bonds between the links. This can be done before installing the chain on the bike, or you can free things up as you feed the chain around the chainrings, cassette and through the rear derailleur. Install is easier however if you loosen the chain up by working it with your hands, or wrap it around a paper towel tube or something similar. Be ready for some of the hardened wax to flake off as you shape and work the chain. This is easily swept up, but it helps to do it over the garbage can if possible.
Enjoy!
Now you're ready to hit the road! (or trail, or gravel)! Once you’ve installed the chain and clipped the quick link into place, you’re ready to ride. The chain will feel a bit…out of sorts for the first few minutes of riding, but will “break in” and feel ultra-smooth in no time. That being said, make sure you put a few miles on a freshly waxed chain before starting an event, race, group ride, etc.
When to wax off? Most rider's experience will differ a bit. Some prefer to wait till the chain starts making noise/squeaking, others like to set a convenient interval, some (including the author) hit it somewhere in between. Either way, when it comes time to re-wax you can heat up your wax, wipe any dust off the chain and repeat the dunking/cooling/re-install process. You won’t need to do any of the initial prep until it’s time for a new chain. If your chain has gotten really dirty or you’ve been in relatively severe riding conditions, you can rinse it first with hot (ideally boiling) water prior to dropping it in the hot wax.
So what's next? You might now be thinking one or all of a few things: How long will the wax treatment on the chain last? How many waxings can I get out of a pot of wax? Should I try it out? What will I tell my friends?
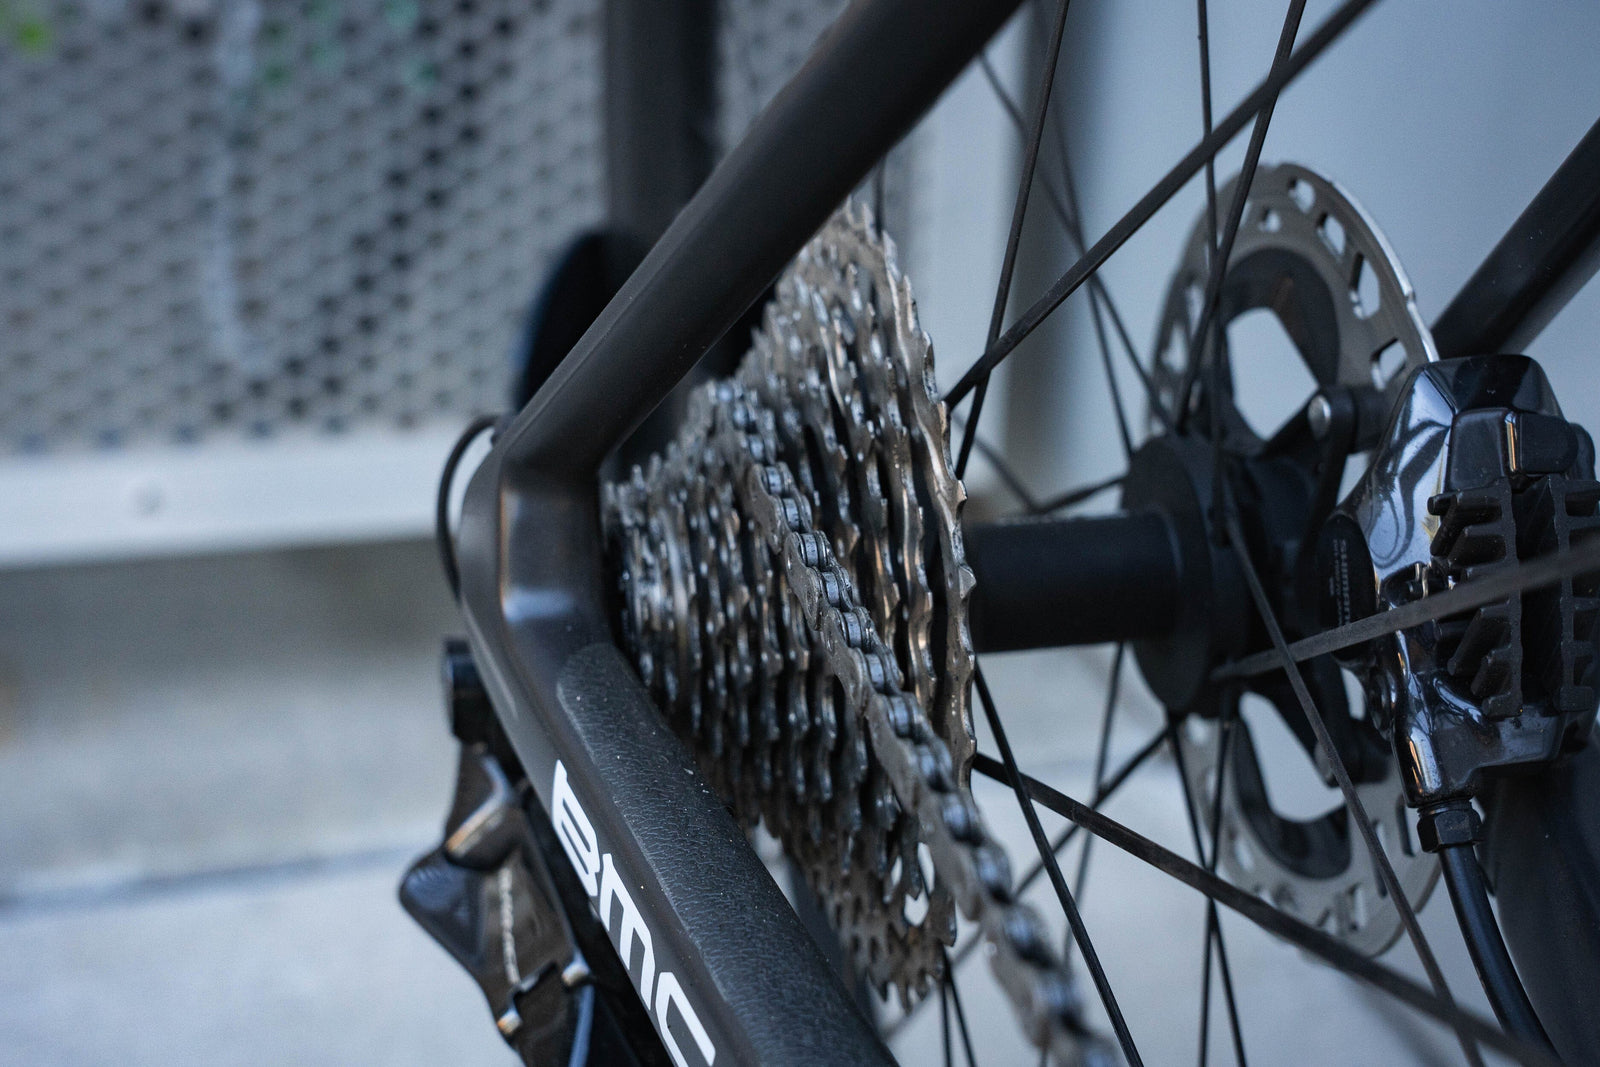
Everyone’s results will vary, but the industry standard seems to be in the 200-300 mile range for optimal performance. If you’re riding in really wet conditions, it will be less. Once you get acquainted with the process however, you might find yourself waxing the chain more often as your schedule allows. Once you’re up and running, the process is quite easy. The image below highlights the author's chain with roughly 275 miles on the wax:

As far as the lifespan of the wax itself, manufactures that sell a pre-packaged wax blend will have guidelines as to how many chains can be waxed per package. A bag of Silca Secret Chain Blend for example should last at least 30 waxing cycles.
As we’ve mentioned, part of the beauty of waxing the chain is that dirt and grime don’t adhere to the wax. As such, dirt and contaminants will settle to the bottom of the molten wax. Some users make an effort to clear some of the settled dirt from the wax by scraping it off a partially cooled “puck”: When you turn your crock pot off, before the wax hardens all the way up you’ll be able to free the majority of it out of the pot in a large puck. You can scrape most of the settled dirt off the bottom of the puck, thereby having a cleaner pot of wax the next time around. Not entirely necessary, but if you’re a stickler for detail it doesn’t hurt.
Is Waxing For You?
So, should you take the plunge? If you’re considering giving hot waxing a try, here’s what to keep in mind: The initial setup is a bit tedious, but it’s basically a “one and done” procedure. If you have the space, time and interest to get set up, the process is easy and even somewhat cathartic for many (the author included).
It’s a bit of an adjustment, but once you get comfortable with the routine you may not ever want to go back. The lack of mess alone makes it worthwhile for many (the author again included). Some of your riding crew will wonder what you’re up to, but between your smooth-running drivetrain, clean hands and lack of chainring grease paint on your calves, the results will speak for themselves.
Feel free to reach out to us here at the shop with questions, we're happy to help get you set up!