
Is A Road Tubeless System Right For You?
Part of what makes cycling fun is the constant stream of tech and innovation making its way to our bikes. Whether one chooses to embrace all that is new, prefers to keep things simple and classic, or something in between, everything that comes down the pipe tends to find its way into the discussion. It’s fascinating to see what has hit the scene over the years and equally as interesting to look at what has stood the test of time and remained largely unchanged. Wherever you fall on the tech-spectrum, it’s a great time to be a cyclist!
In today’s road cycling community, there seems to be a “holy trinity” of tech topics that often transcend the exchange of opinions and move straight into wildly gesticulating, “colorful” discussions. These tend to be electronic shifting, disc brakes, and perhaps the reigning champion of them all, road tubeless.
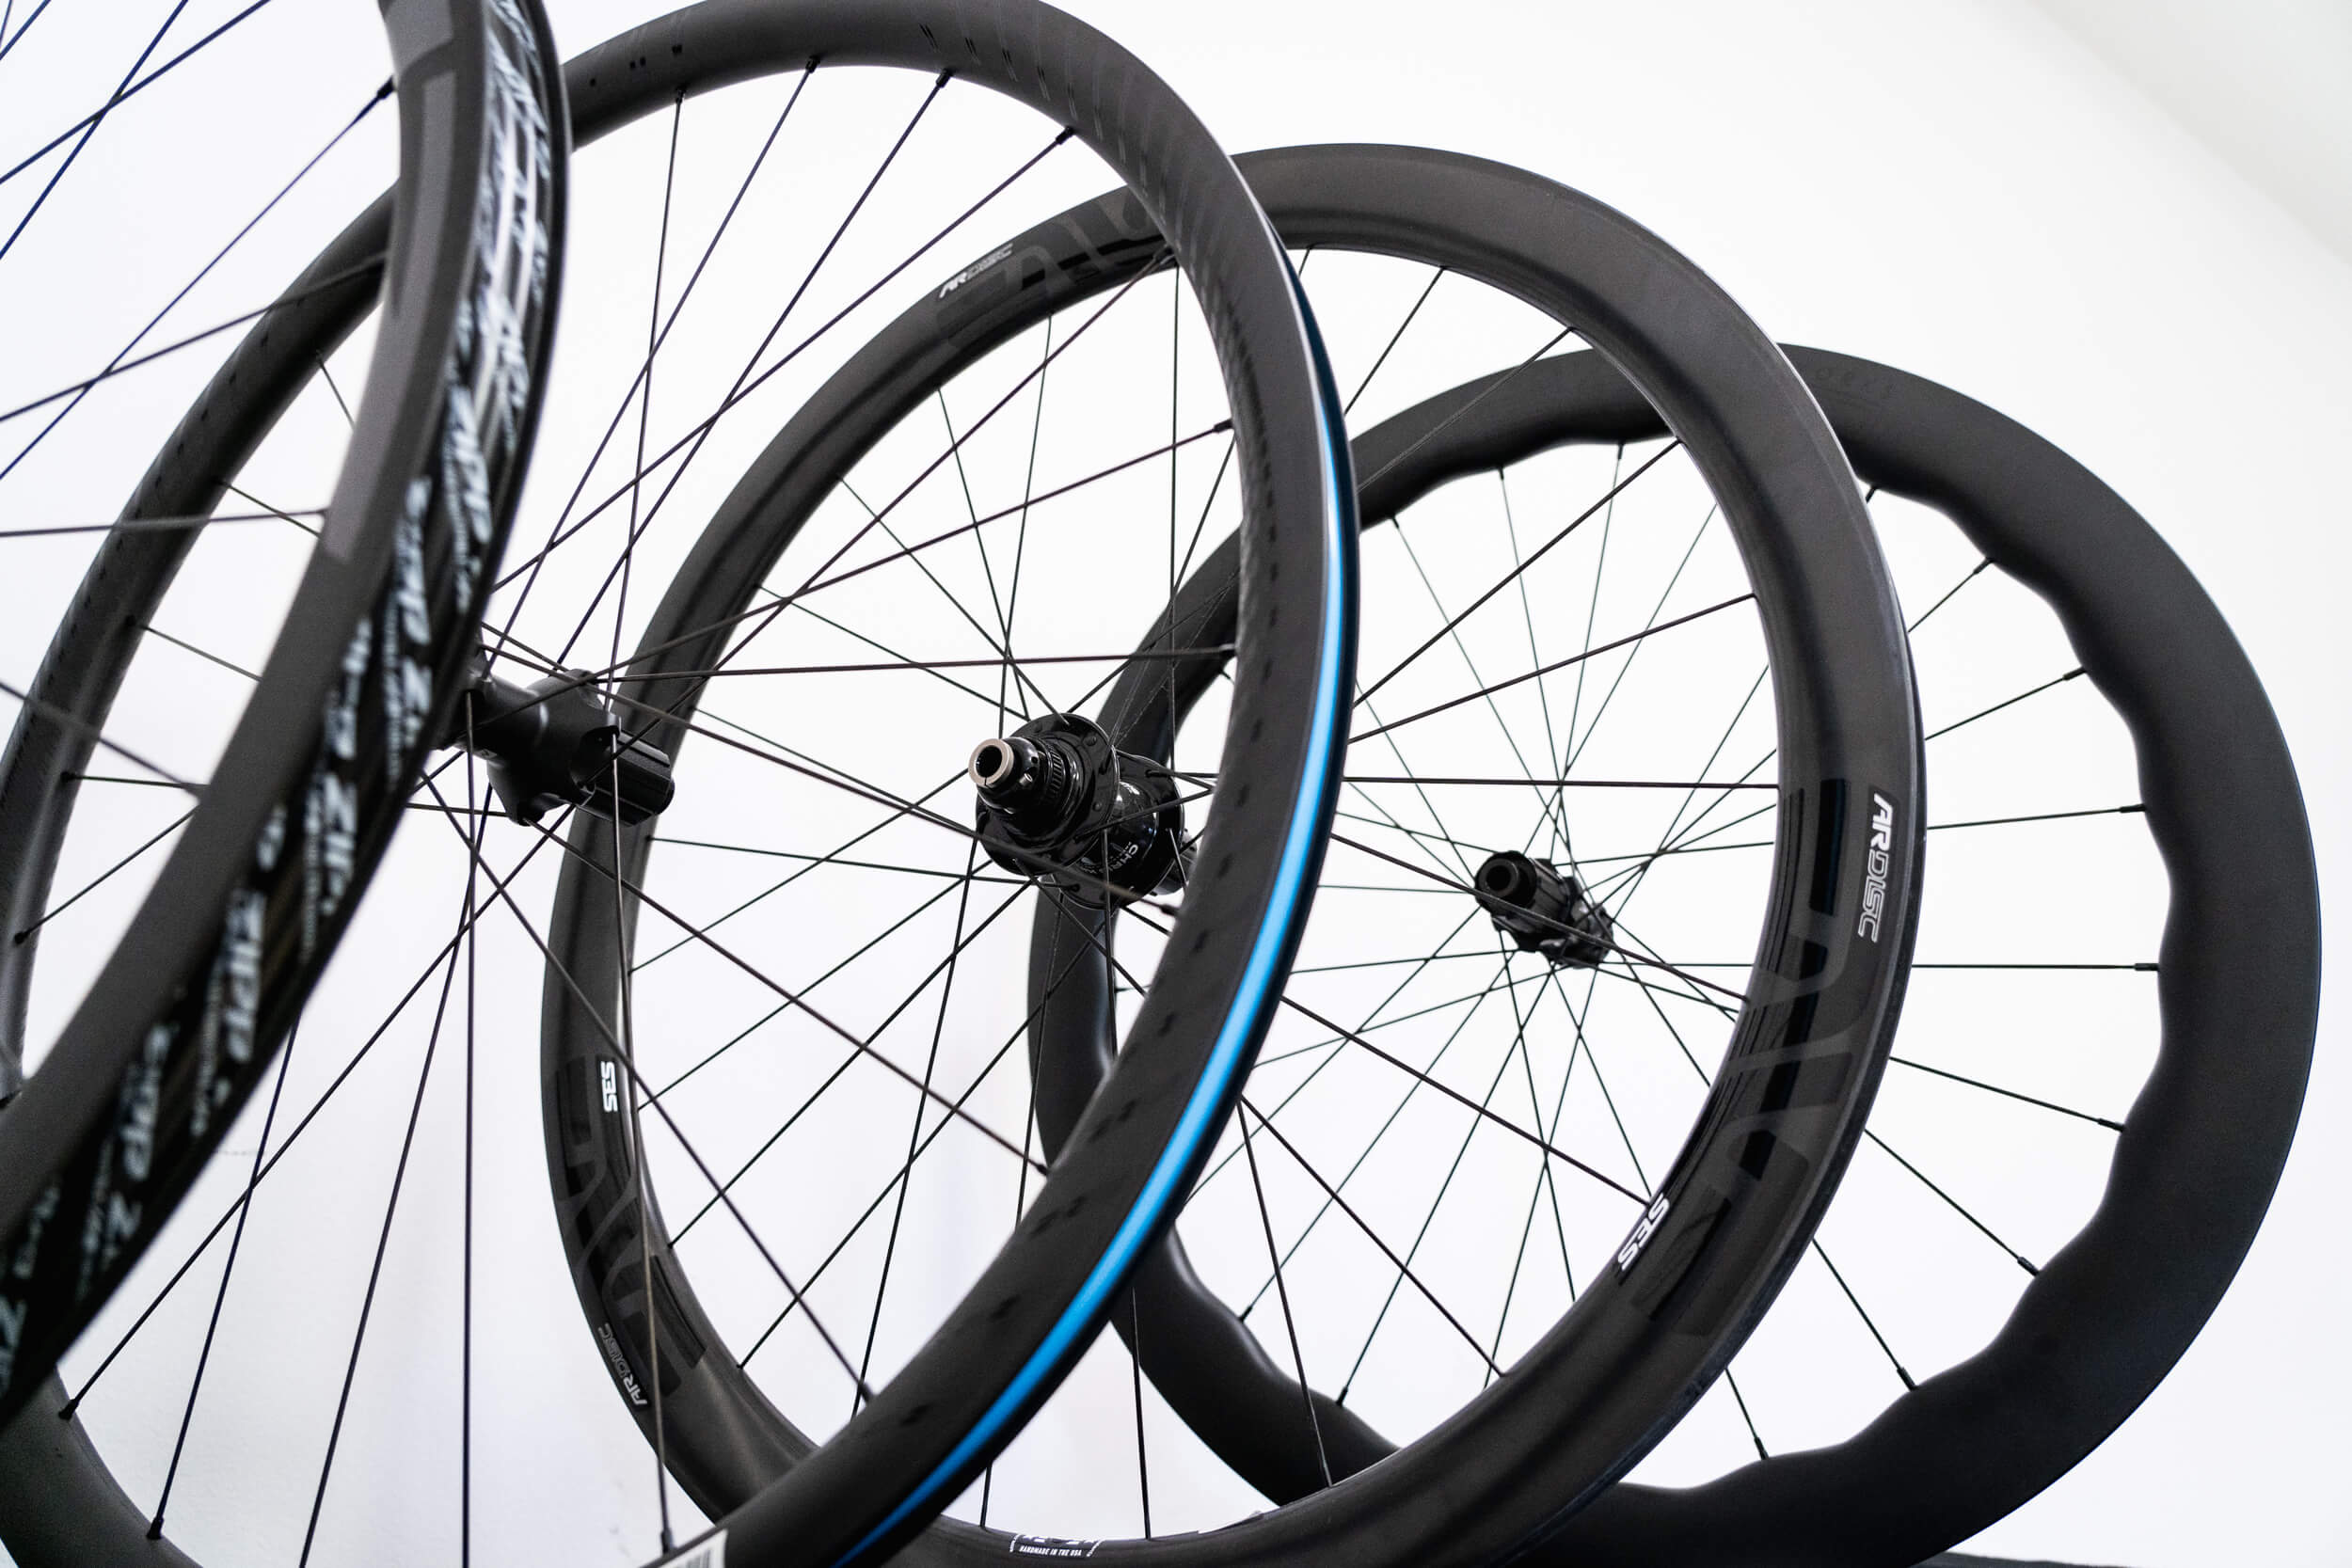
While somewhat polarizing, road tubeless is becoming more common and more manufacturers are jumping on board and investing. We’ll break down the what, why, how and what to expect. Even if you’re not ready to ditch (the last of) your tubes yet, read on to get the info you need to make the call…
*Before we jump in, it’s worth noting the confusion that periodically pops up during the road tubeless discussion regarding *tubular* tires. A completely different animal, tubulars (or “sew-ups” if you’ve been around for a few years) have been a fixture in the cycling world since the dawn of time, and remain widely used in the professional road and cyclocross ranks. There are good reasons for pros to use tubulars, and why they often prefer them, but for those of us who purchase, mount and maintain our own tires, gluing tires to proprietary rims and not being able to easily deal with flat tires out on the road doesn’t make much sense. Therefore, we’ll leave tubular tires for another time.
The What
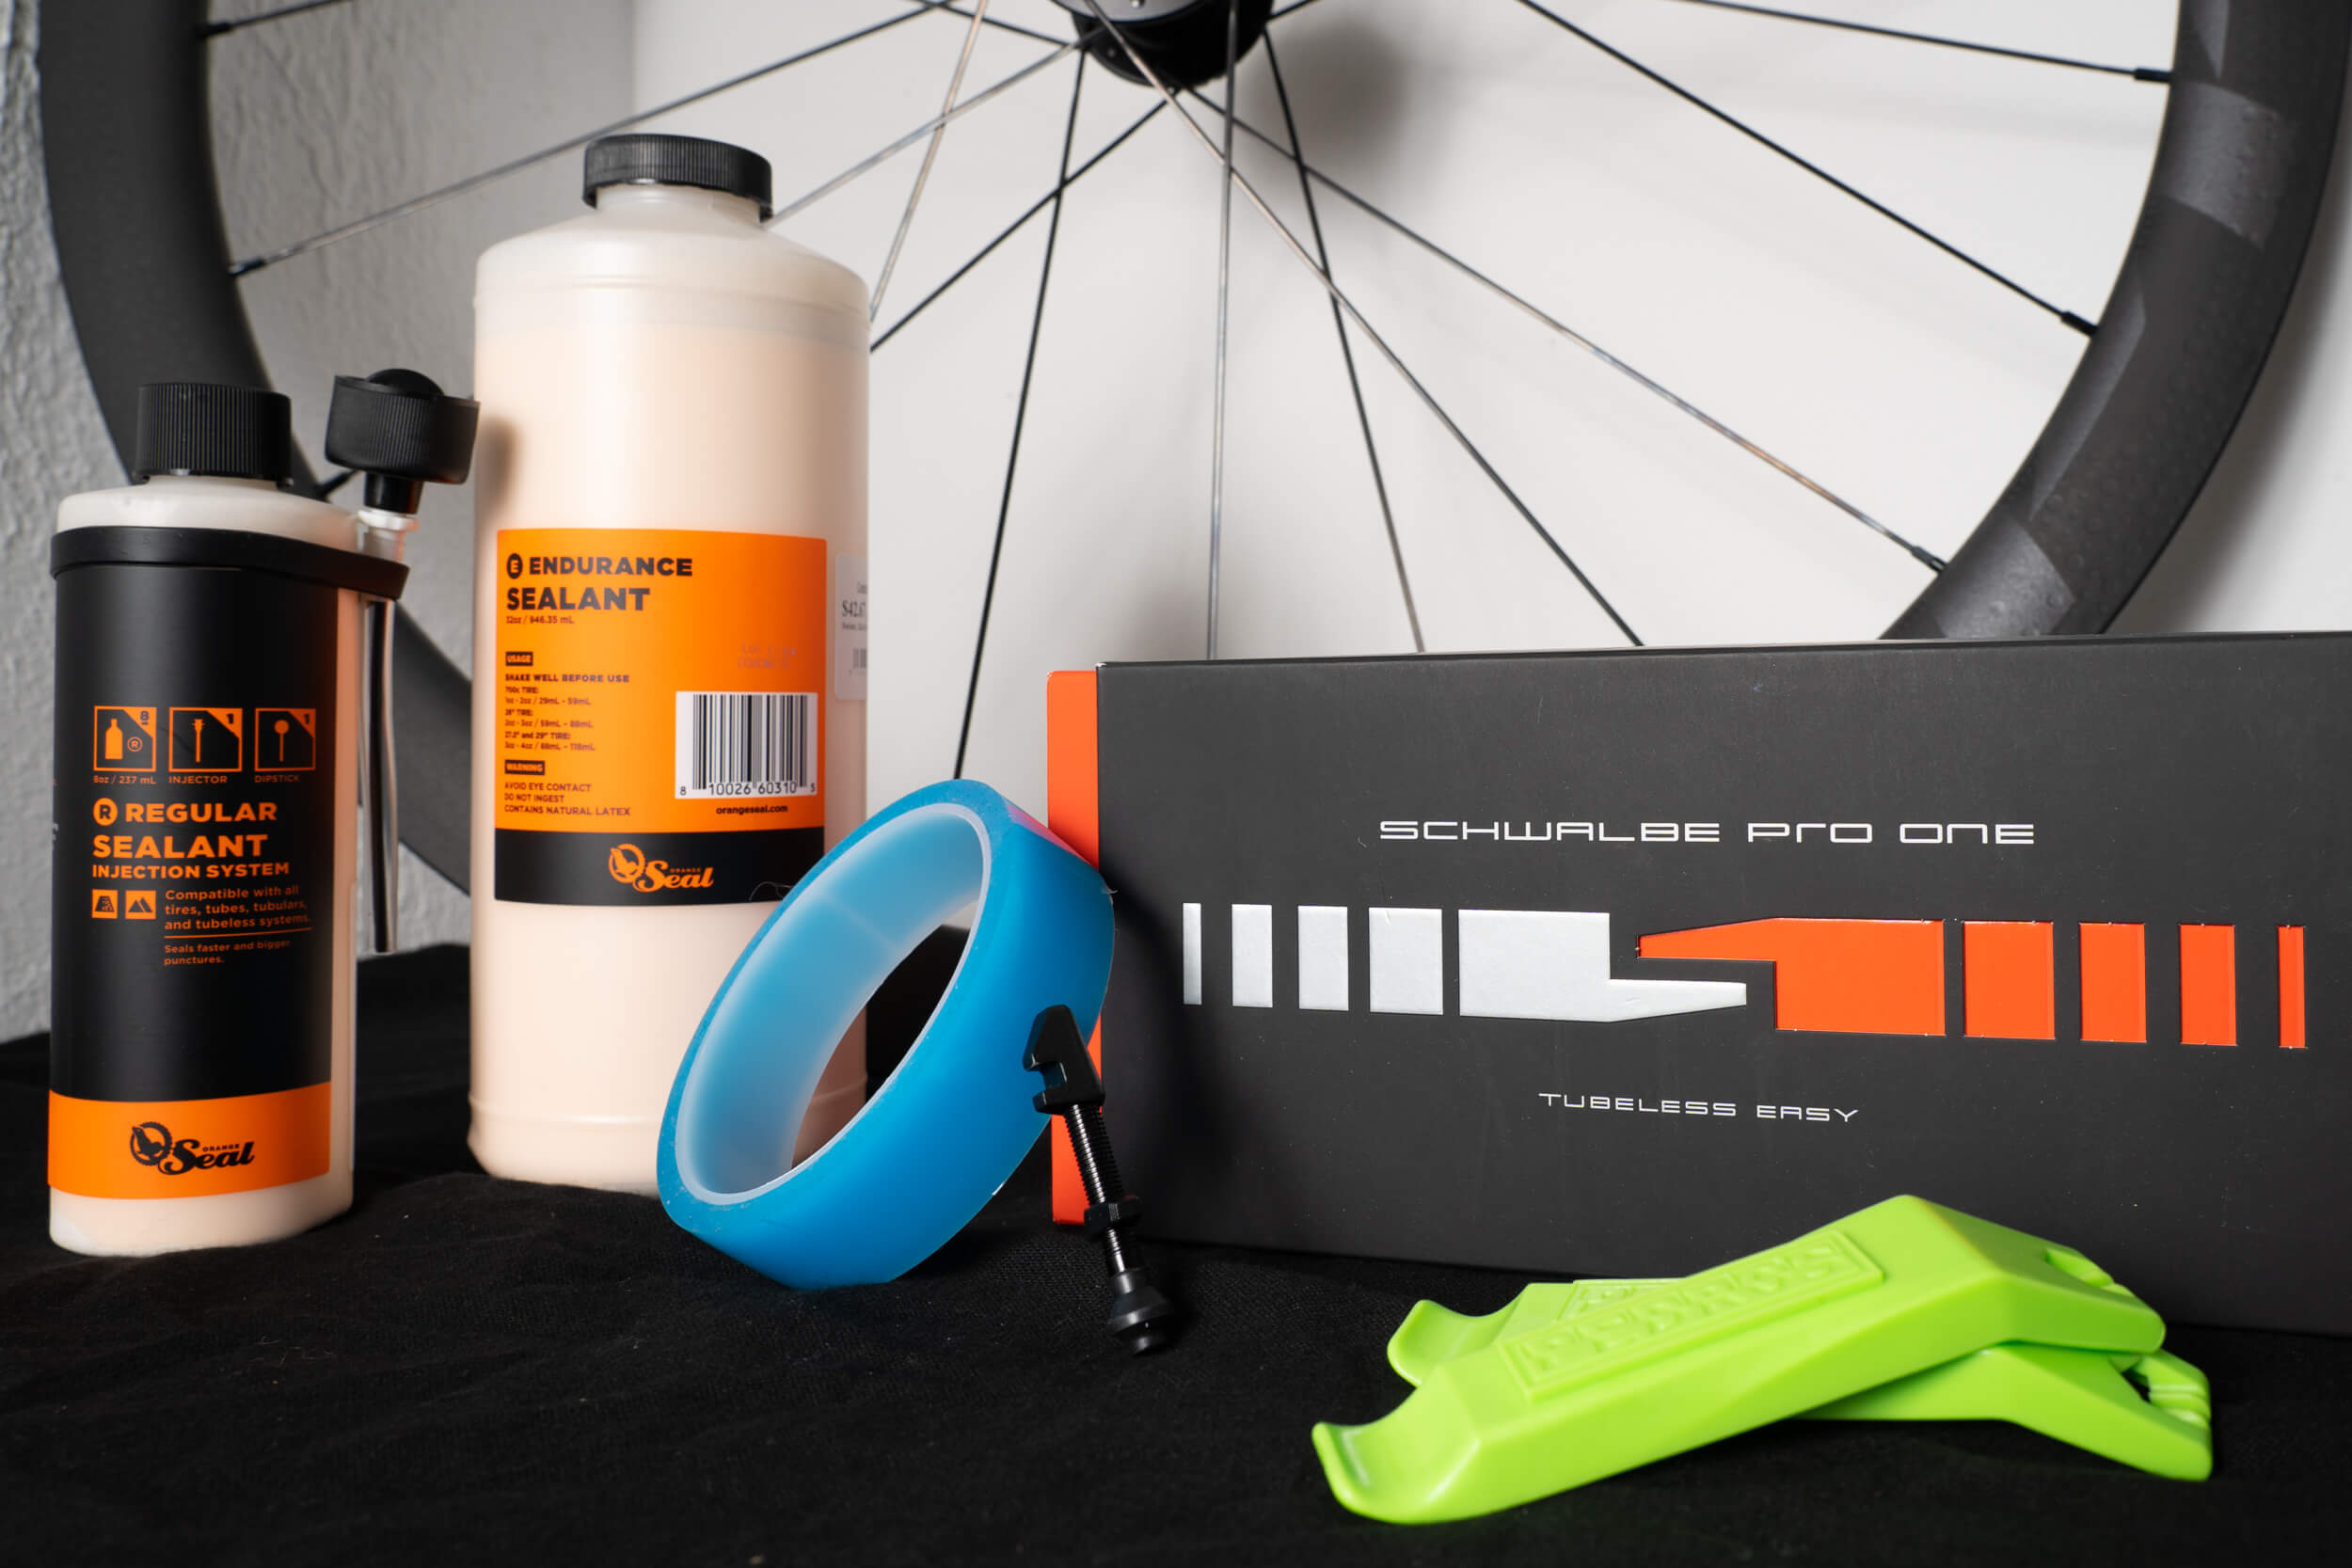
Just like with most MTB’s, gravel bike setups, automobiles and many motorcycles, “tubeless” just refers to removing the inner tube aspect of the wheel/tire system. A tubeless-ready tire, rim and tubeless valve are all required for the setup, along with special tubeless specific tape around the inside of the rim to seal the valve holes (there are a few rim designs out there that use a sealed inner rim, with the spoke holes threaded into the outer rim, thus not requiring sealing tape).
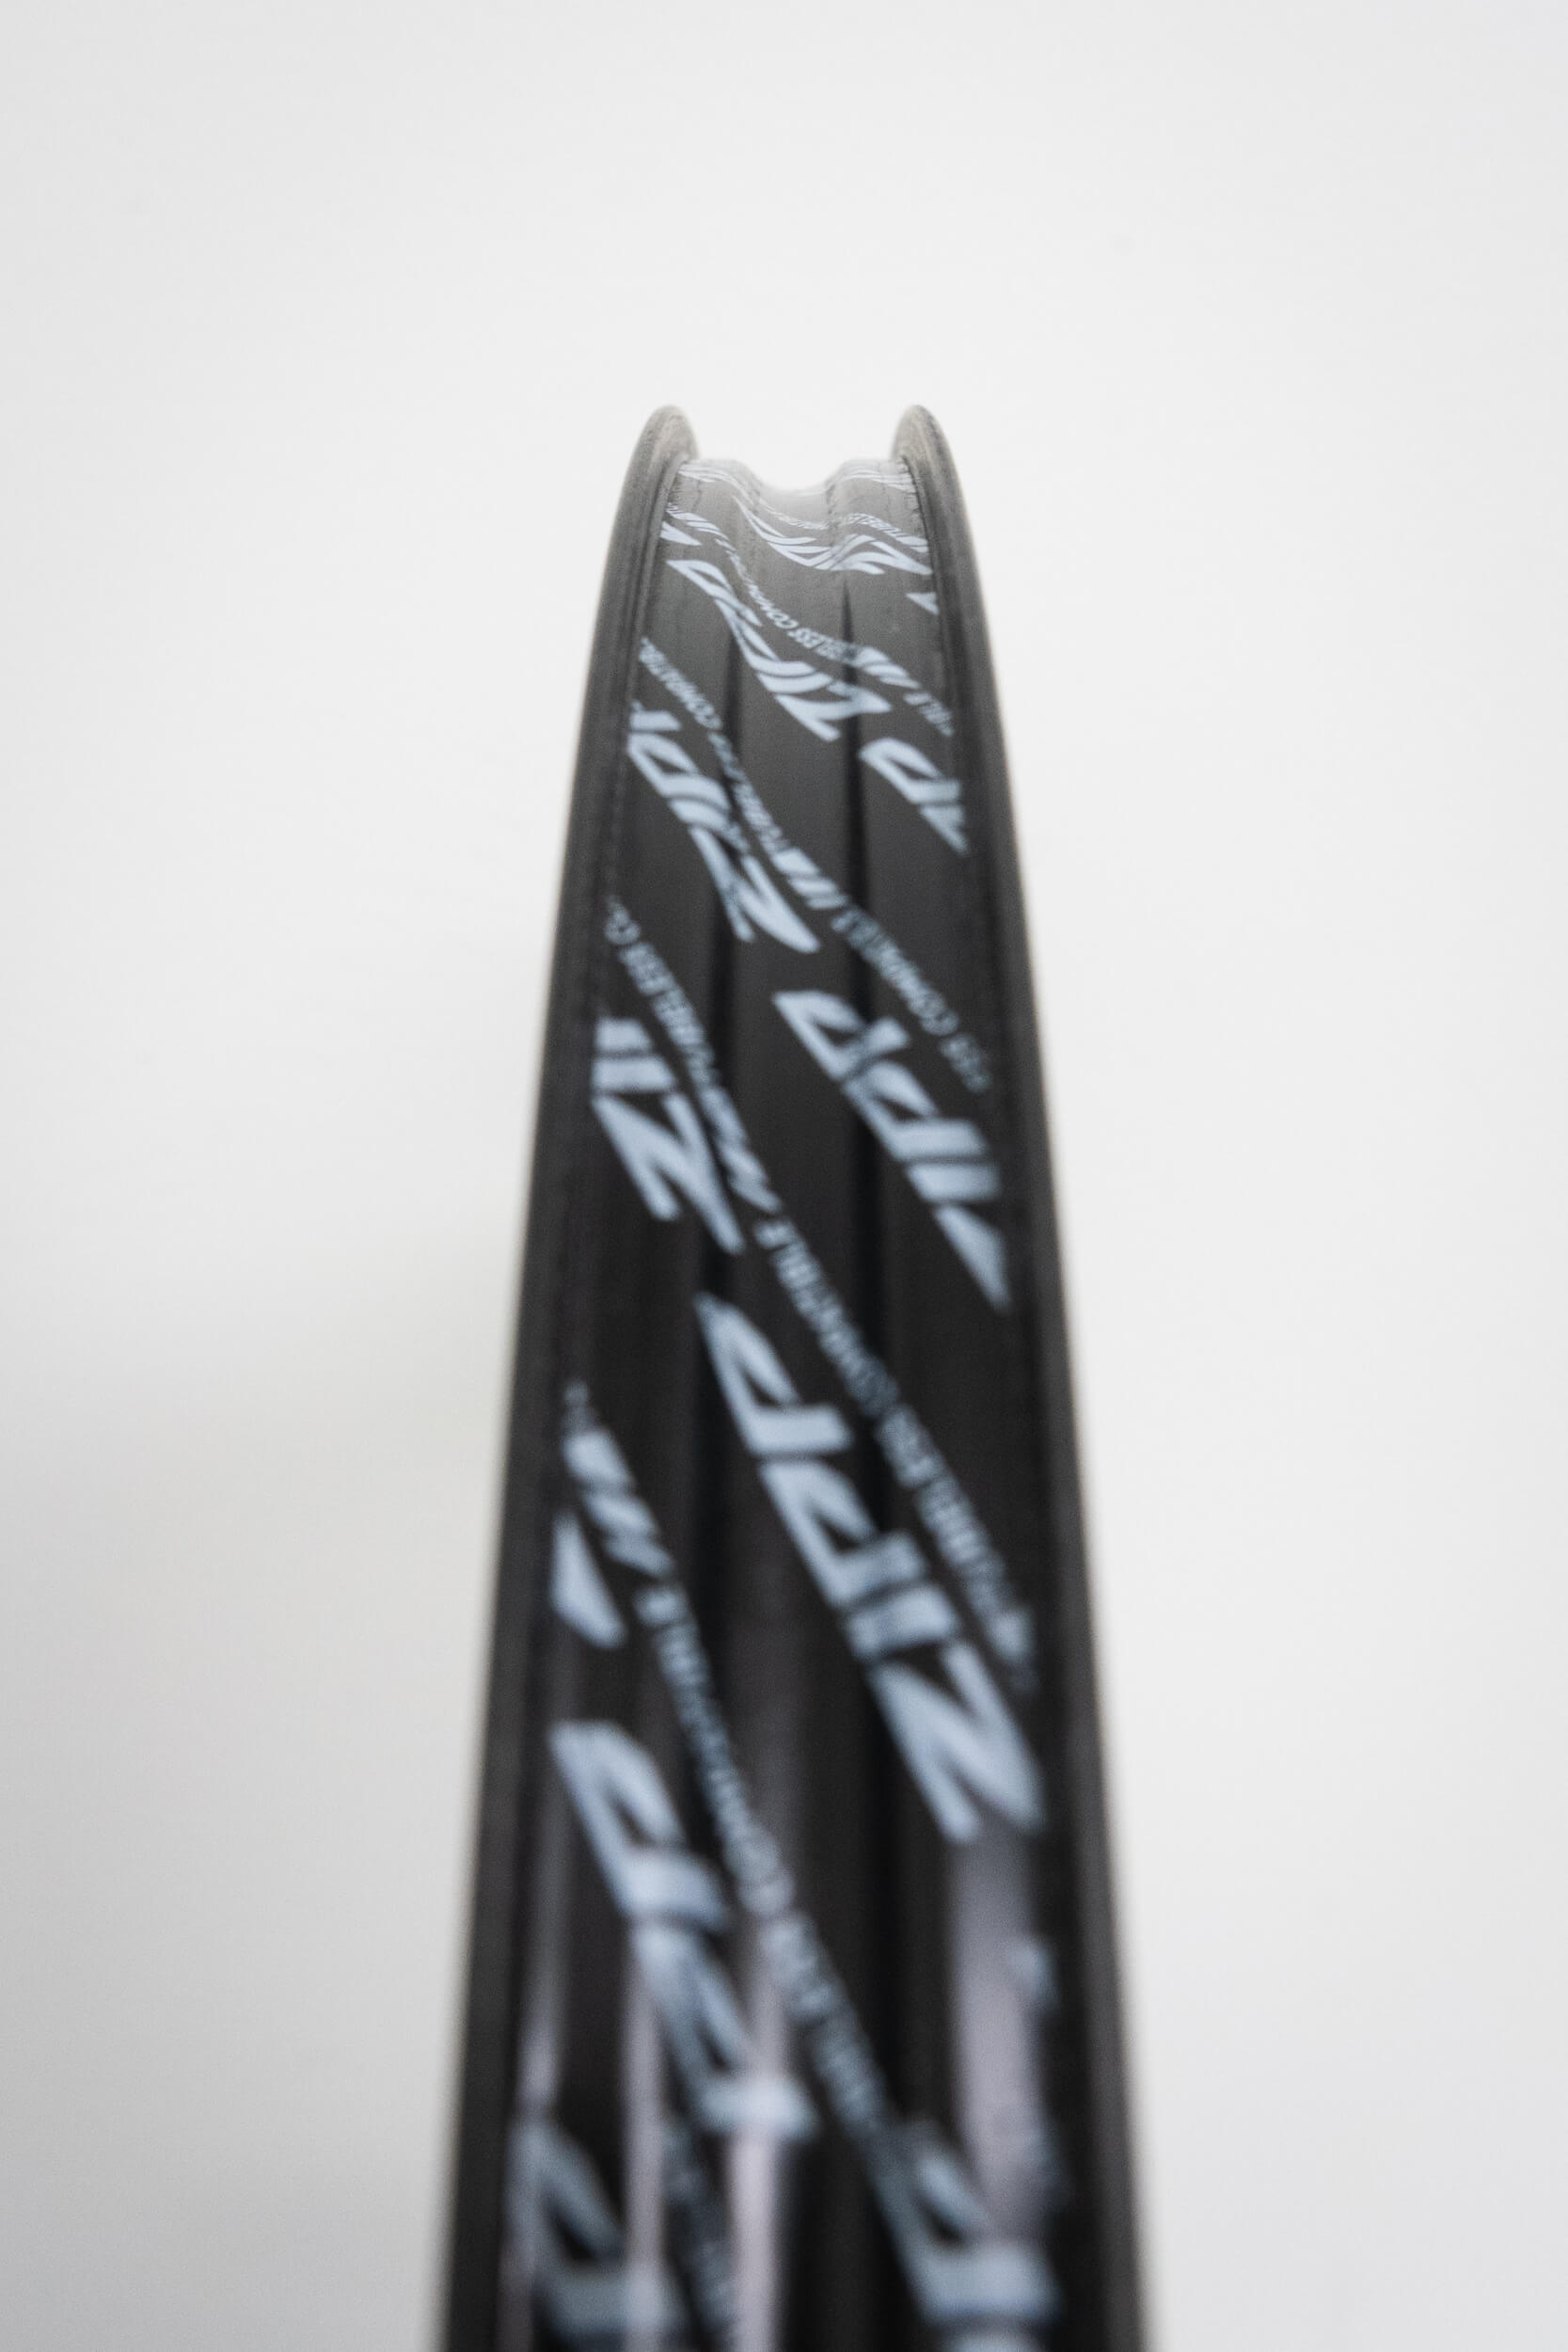
Just like the tubeless standard that has been the norm in the MTB world for 20 years, a road tubeless system relies on liquid sealant. Once the tire is inflated and properly seated, the air pressure within the tire causes the sealant to fill any micro-perforations in the sidewall, seal the rim to tire interface and quickly seal punctures that may occur out on the road. Completely set up and rolling, visually and aesthetically you’d never know the difference between a tube and tubeless system. (ok, maybe if you zero in on the valve…)
The Why
Many of the benefits of and reasons for a tubeless road setup carry over from the off-road and all-road worlds. Primary among the benefits of road tubeless is puncture resistance. Pinch flat resistance is also improved, but not to the degree that it is on an MTB or gravel given that the ground covered on a road bike generally isn’t as rough as when you’re on the trail.
Tubeless systems can offer lower rolling resistance and potential weight savings over a tube system due to the rotational weight and friction of a tube being removed from the equation. The amount of sealant required generally weighs less than an average tube.
Perhaps the most discussed aspect of tubeless road systems is that of tire pressure. Riders often use more than the ideal tire pressure in the interest of preventing pinch flats, only to suffer from a harsh ride and diminished tire contact with the road. Getting bounced around on the road in addition to losing traction due to too much psi is simply no fun. While many quickly cite the ability to use lower tire pressure with a tubeless system, a better way to frame it is you have more latitude to determine and run the appropriate tire pressure for you and your ride. Due to the absence of an inner tube, a tubeless system allows for a wider range of pressure on the low end due to the decreased likelihood of a pinch flat. This allows the rider to work with a much lower pressure in determining the ideal range for their tire size, terrain and rider type and rider weight. Finding the ideal tire pressure will deliver more comfort and control, decrease rolling resistance and can ultimately provide a better ride.
Another element to consider when you eliminate inner tubes, is that you’re eliminating inner tubes. While it’s best practice to still carry a tube in case of a flat (or someone else having a flat), being able to keep tubes out of landfills is good for everyone. It’s true that tubeless sealant is still ultimately a waste product, but the overall impact pales in comparison.
The How
Probably the hottest of the hot buttons when it comes to the road tubeless discussion is the actual set up. Fixing a flat tire by swapping out the inner tube is arguably one of the easiest, most straightforward service tasks one can perform on a road bike. It’s a must-know for a proficient cyclist and modern tools and tech have made it easy for everyone. Setting up a tubeless road tire and wheel is definitely more involved and time consuming, but once it’s done it’s largely done for a good long while.
The crux of a road tubeless set up has long been the initial mounting of the tire on the rim. In years past, simply getting both tire beads on to the rim was known to bring hardened mechanics to tears, and the number of broken tire levers would outweigh the environmental offset of saving tubes from landfills. But as technology, design and materials have improved, the mounting process has gotten far easier and different manufacturer’s tires and rims mate up far easier.
One does need to adopt a different technique and mindset when setting up a tubeless tire however. Tubeless rims are designed with a channel in the center of the rim that needs to be employed when mounting the tire. The center channel effectively reduces the diameter of the rim. When one side of the tire’s bead is slipped over the rim and pushed down into the channel, this allows room at the outer edge of the rim for the tire bead to clear over the rim. Once the tire is on the rim it can most often be seated with a hand pump, given the relatively small air volume (compared to an MTB setup which often requires a compressor or large volume pump).
When the tire is properly seated, sealant is injected into the tire via the valve stem, the tire is inflated and it’s essentially ready to go. Some manufacturers recommend a ride immediately after setup to help the sealant uniformly absorb into the micro fissures of the tire and any air gaps that might be present. It’s a good idea to top off the sealant after the initial setup and break in ride, and like any tire it’s good practice to check and adjust tire pressure before every ride. Just like with the MTB tubeless systems, it’s also good to periodically check the level of the sealant and top off when necessary according to the manufacturer’s recommendations. Once a tubeless wheel is properly set up and running, you can usually count on full seasons of trouble free riding (I logged over 26 months of flat-free road riding at one point).
Dealing with the infrequent roadside flat tire is a valid consideration when discussing road tubeless systems, but like with the initial setup, if you know the technique for divorcing the beads and getting them in the center channel, a tubeless setup is no more trouble to deal with than an inner tube setup. The sealant is an added element and it can be messy to deal with out on the road. But many find it to be not much more than a nuisance, just like with the MTB setups we’ve accepted for two decades.
Is it for you?
So why the polarization surrounding road tubeless? As with anything new introduced into a sport as deeply steeped in tradition as cycling, something as fundamental as where the rubber meets the road is not going to change or gain acceptance overnight. Inner tubes have been providing the tire/wheel interface on bicycles since the late 19th century. On one hand, it can be argued that traditional tube setups are a reliable, sound and time tested standard that still work fine. On the other hand, “we've been doing this for over 120 years??”
While tube setups aren’t technically “broken” and in need of a “fix”, there some serious positives with road tubeless that outweigh the negatives for many riders out there, myself included. I’ve found the pros to far outweigh the cons and love the added comfort and control my tubeless wheels provide. Not having to worry as much about flat tires and trying to recycle tubes are huge pluses for me as well. The “conversion” didn’t happen overnight for me either. I had some….questionable experiences with road tubeless early on, just like I did with my first tubeless MTB setup in 1999 (Vive le CrossMax UST du Mavic!), but as with disc brakes and electronic shifting, I’m sold and I look forward to what else the future will bring!
There's much more to discuss about road tubeless than we've covered here (hooked rim vs hookless, tire width, etc), so let us know if you have questions, or would like recommendations. We're always happy to discuss!
I went tubeless when I bought an Open Upper from Contender for both road and gravel use 3 years ago. 4k miles later, I still have yet to encounter a situation where I needed an inner tube or needed to call the “automotive extraction”. On 3 or 4 occasions, I did need to insert the Stan’s Dart tool, but that was it. Oh, and I do a lot of big, +80 mile rides. Tubeless has been a game changer for me.
My repair kit now just contains a mini pump and some darts. If it’s a really long ride, I’ll bring some extra sealant. Wheel / tire combinations could play a role — I run Enve G23 and SES 4.5 wheels and Vittoria, Rene Herse, and Pirelli tires. I’ve also had great success with Muc Off sealant – very thick and seals up bigger punctures quickly.
Andy on
I have used mountain tubeless since before tubeless ready mountain bike tires were readily available. I’m never going back to tubes. I have only used road tubeless for two years and I’m never going back to tubes on the road either. So many people, like Julio above, have had negative experiences. The rim model and tire model involved in these examples need to be given so a solution can be found and so the incompatible rim/tire combinations can be avoided. My Brit wheels and Continental or Schwalbe tires are very compatible and can easily be removed out on the roadside in an emergency when a tube needs to be installed temporarily to finish the ride. Julio, and everyone else, just needs to find the rim/tire combo that work well together.
One negative I have found with road tubeless is how fast the tubeless tires wear out. I only got 1,350 miles out of my last Continental 5000 TR tire when mounted on the rear wheel. Which tubeless ready tires last longer and give the heavenly smooth and efficient ride like the Continental 5000 TR tire does?
Also, one other important thing to consider when going tubeless, is the brand of sealant. I gave Orange Seal a two year test and it failed to seal minor punctures in both road and mountain tubeless setups. I have gone back to Stan’s sealant. I have had good luck with Stan’s sealing punctures over many years and and thousands of miles of riding.
Also, in your article you say the rim tape is used to seal the valve holes. It is actually used to seal the spoke holes.
Jay Griffin on
Thanks for all the input and response! As mentioned, tubeless road is still a lively, if not rambunctious topic. @ Griffin, i’d love to know what the setup was your friend was using. Anything involving high-speed road riding isn’t to be taken lightly, I’ve had a tubular come un-glued at speed and I’ve had multiple instances of tubes failing/exploding too (remember the great carbon clincher debacle early on?). So far, I’ve had a really positive experience riding and racing on the tubeless setups.
Just this past weekend, one of my riding partners was stuck at the side of the road for a couple hours due to a simple office staple. The tube we installed blew at the seam once we aired it up, so he had to call in the “Automotive extraction”. It was the classic case of “Tubeless would have sealed that” : )
Thanks again for reading and all the input! Keep it coming!
EK
Ed K on
A friend of mine, who I’ll just refer to here as “Elliott” was on a ride with road tubeless several years ago and, going down a canyon at high speed around a corner his tire peeled off the rim and needless to say it almost killed him. I recall him saying that would have never happened with the traditional setup. Maybe the tubeless tire-to-rim marriage has improved since then. I’m not sure. Bit for that reason I’ve always been skeptical. My thoughts on tubeless mtb: one of the biggest game-changers to the sport.. Any feedback on this?
Griffin on
Great article, I’ve been riding tubeless mountain bike tires for nearly ten years and road tubeless for two years, after more than 30 years of riding, tubeless road is a difficult to explain experience but an awesome one. From an incredibly smoother and more confident ride due to lower pressures to clearly less flats.you just have to do your research, get in touch with the guys at contender bikes or your local bike shop. Need to realize that not all tubeless tires are a perfect match for all tubeless wheels, you also need good air volume to seal an eventual puncture so lean towards wider tires in general
Sergio on